


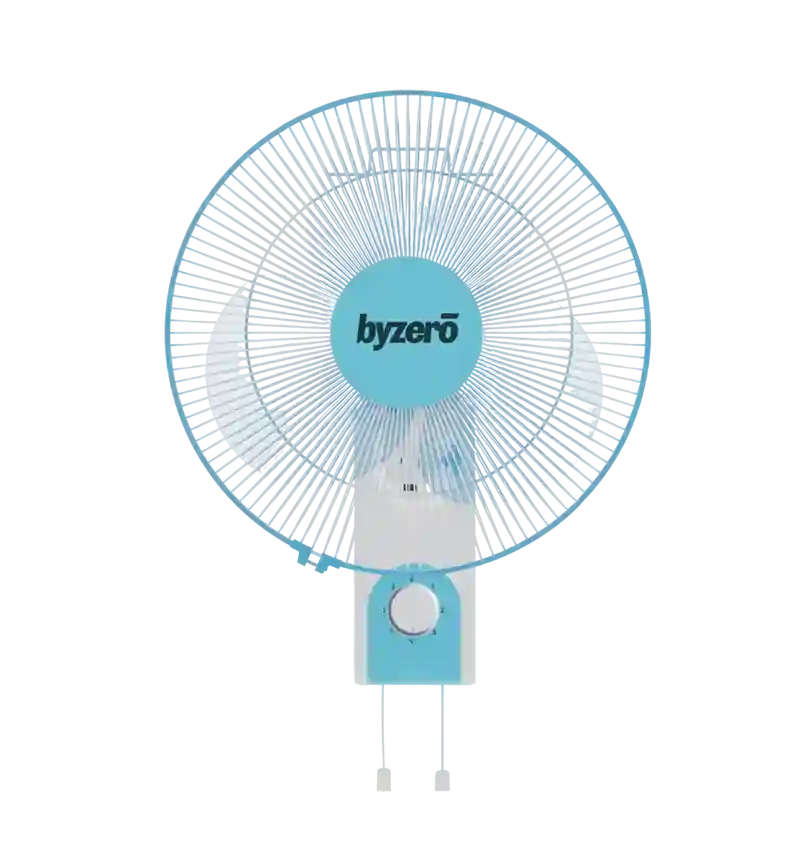
How to Install a Wall Fan Without Professional Help

Beating the summer heat doesn't require a professional! Installing a wall fan is a straightforward project that can be tackled with a little DIY spirit and the right tools. Not only will you save on service costs, but you'll also gain the satisfaction of completing the task yourself. So, grab your toolbox and follow this guide to bring cool comfort to your space with a brand new wall fan.
Before You Begin: Gathering Your Supplies
Preparation is key for a smooth installation. Here's what you'll need:
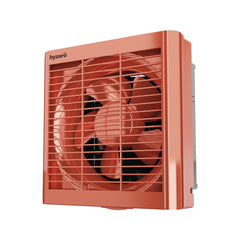
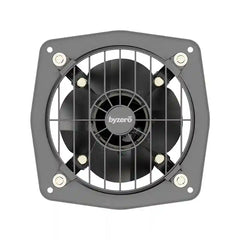
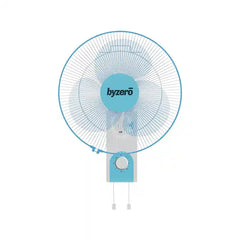
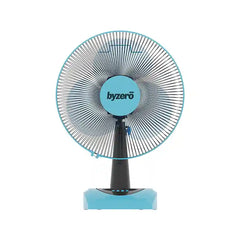
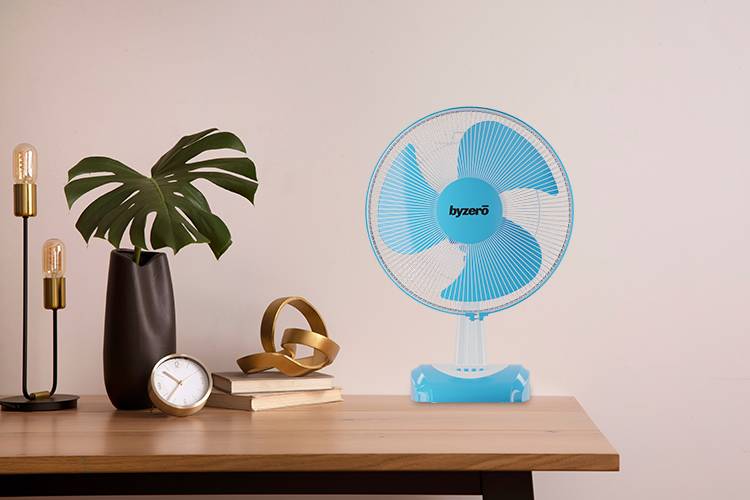
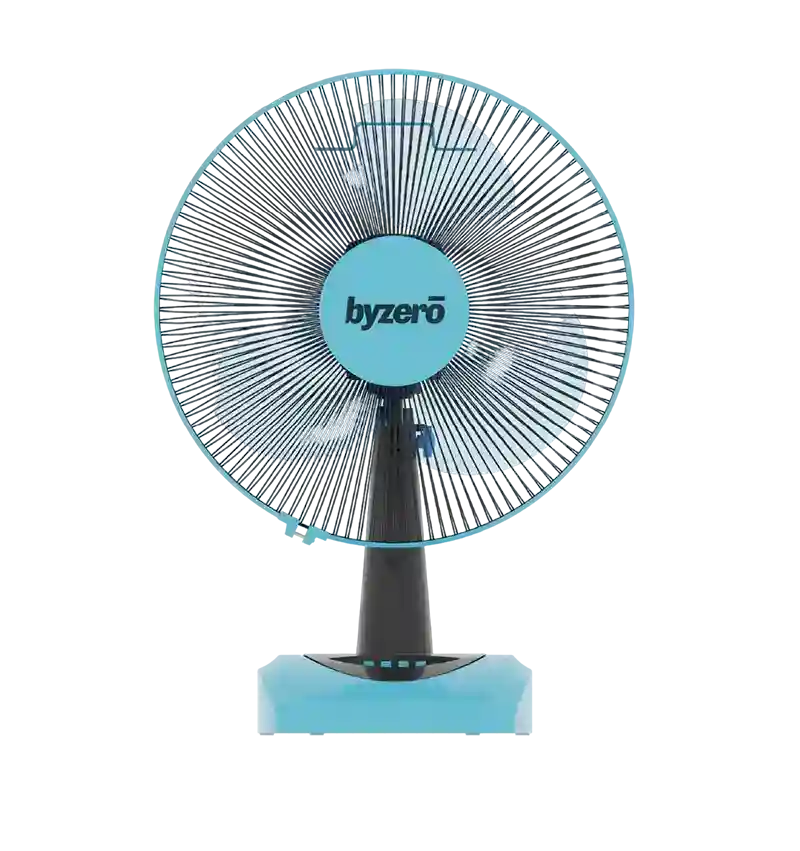
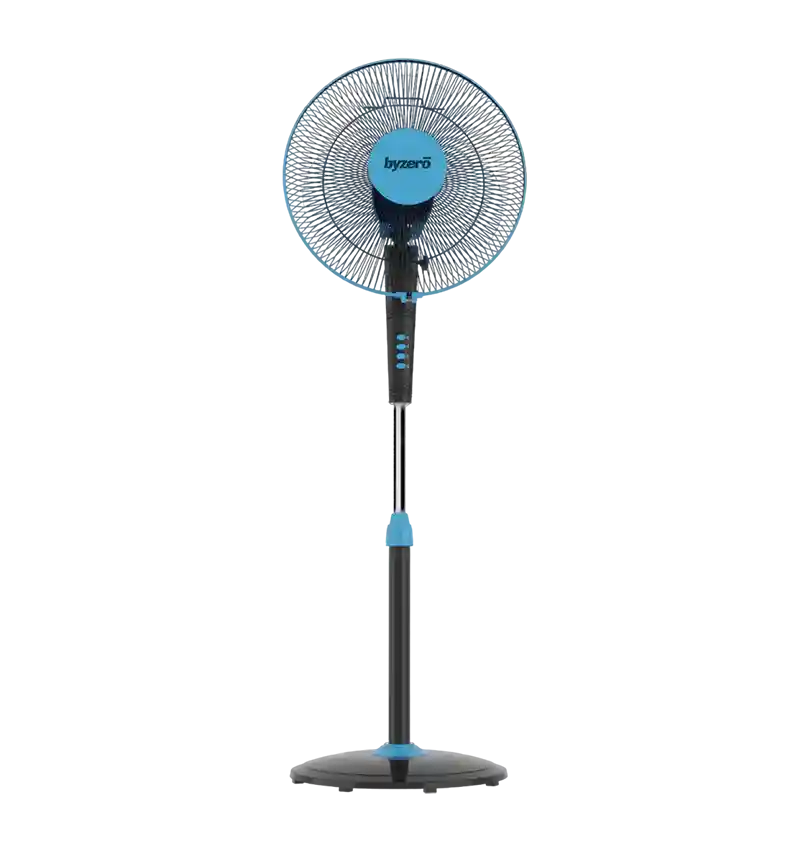
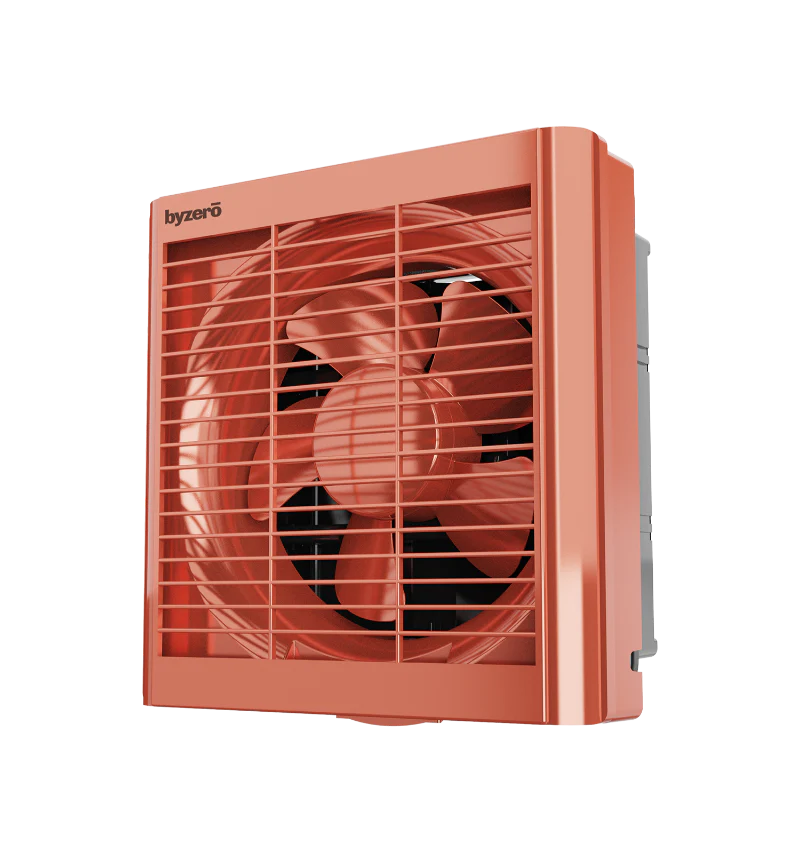
- Your new wall fan: We offer a wide variety of wall fans to suit your style and needs. Choose one that complements your space and provides the desired airflow.
- A drill with a suitable drill bit: The specific drill bit size will depend on the wall fan's mounting bracket. Check the manufacturer's instructions for details.
- Screwdriver: A Phillips head screwdriver is most common, but double-check the fan's instructions to be sure.
- Level: Ensuring your fan is level is crucial for both aesthetics and proper operation.
- Pencil: Mark your drilling points for accurate placement.
- Safety glasses: Protect your eyes from dust and debris while drilling.
- Stud finder (optional): If you're unsure about the location of wall studs, a stud finder can help ensure secure mounting.
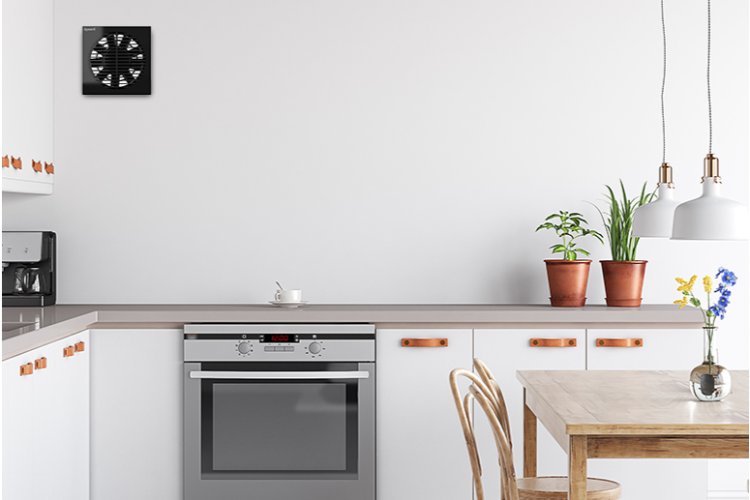
Choosing the Perfect Spot for Your Wall Fan
Placement is key for optimal airflow and safety. Consider these factors:
- Airflow: Position the fan where it can effectively circulate cool air throughout the room.
- Accessibility: Ensure the fans controls are easily reachable when mounted.
- Electrical outlet: Choose a location near a readily accessible electrical outlet to avoid the need for extension cords.
- Safety: Avoid placing the fan directly above furniture or in reach of children. Maintain a safe distance from other appliances and heat sources.
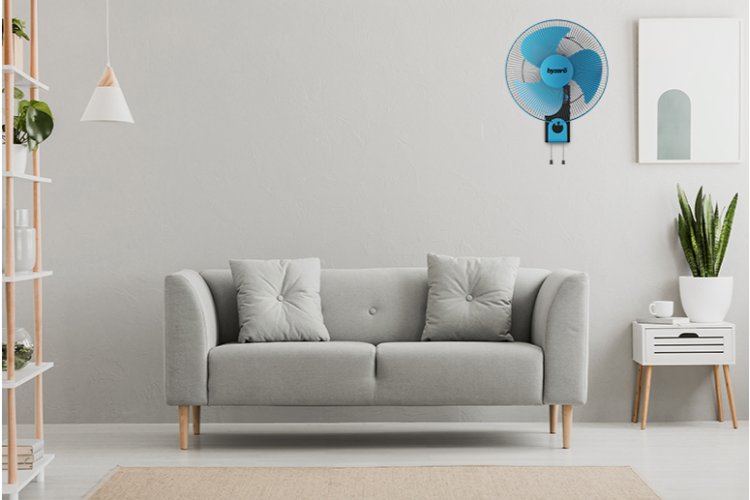
Mounting Your Wall Fan: Step-by-Step
With your tools and location chosen, it's time for installation! Here's a general guide, but always refer to the specific instructions provided with your Byzero wall fan:
- Turn off the power: Safety first! Locate the circuit breaker controlling the room where you'll be installing the fan and switch it off.
- Mark drilling points: Use the fan's mounting bracket as a template to mark the drilling points on the wall. Utilise a level to ensure accurate placement.
- Drill pilot holes (optional): For some wall materials, pre-drilling pilot holes can help prevent cracks and ensure easier screw insertion. Check the instructions for your specific wall type.
- Mount the bracket: Secure the mounting bracket to the wall using the appropriate screws and your trusty screwdriver. If you're mounting on a stud wall, use screws long enough to anchor securely into the stud.
- Attach the fan to the bracket: Following the manufacturer's instructions, connect the fan unit to the mounted bracket. This might involve sliding it on, hooking it in place, or securing it with screws.
- Electrical connection: Most wall fans feature a plug for easy connection to a nearby outlet. Double-check the connection and ensure the power is still off before plugging it in.
Fan Time! Testing and Final Touches
With everything mounted and connected, it's time to test your handiwork!
- Turn on the power: Flip the circuit breaker back on and give your new wall fan a try.
- Test operation: Ensure the fan operates at all speed settings and the oscillation function works properly (if applicable).
- Adjust the tilt (optional): Many wall fans allow for tilting the fan head for directed airflow. Adjust it based on your preference.
Enjoying the Cool Comfort of Your DIY Project
Congratulations! You've successfully installed your new wall fan. Now you can sit back, relax, and enjoy the cool breeze created by your DIY accomplishment. Remember, we offer a variety of fans like ventilator fans and many more at competitive prices. Visit our website today to find the perfect one for your space and beat the heat this summer!
Frequently Asked Questions (FAQs) :
-
What tools and materials do I need to install a wall fan?
To install a wall fan, you'll need the fan itself, a drill, screwdriver, level, pencil, safety glasses, and possibly a stud finder.
-
How do I choose the right location for my wall fan?
Consider factors like airflow, accessibility, proximity to an electrical outlet, and safety when selecting the perfect spot for your wall fan.
-
What safety precautions should I take when installing a wall fan?
Always turn off the power before starting the installation. Wear safety glasses to protect your eyes from debris. Avoid placing the fan near water or heat sources.
-
Can I install a wall fan myself?
Yes, installing a wall fan is a DIY-friendly project. Most wall fans come with clear instructions, and the process is relatively straightforward.
-
What should I do after installing the wall fan?
Once installed, test the fan to ensure it operates correctly at all speed settings. Adjust the tilt as needed and enjoy the cool breeze!

Leave a comment