


DIY Fan Installation Guide: Tips for Installing Wall and Ventilator Fans
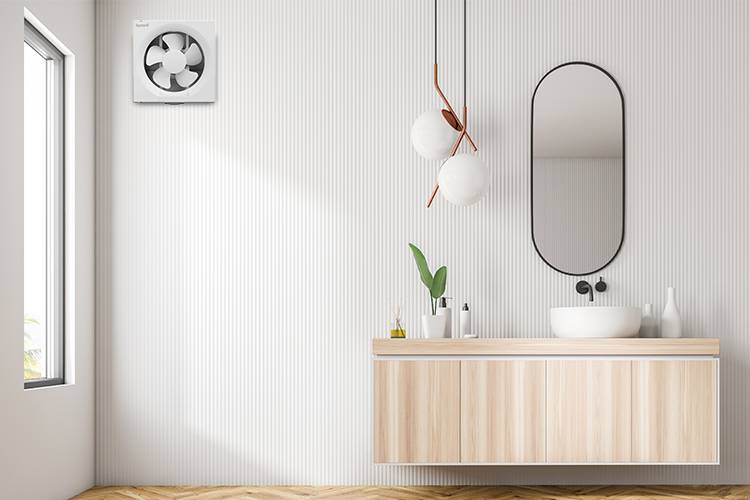
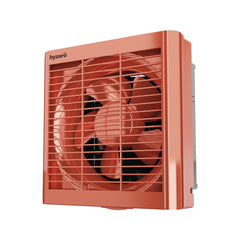
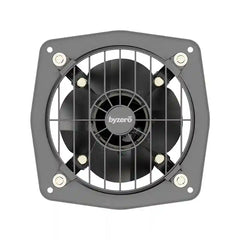
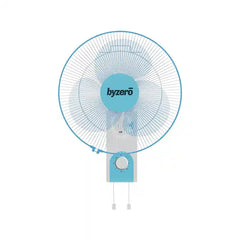
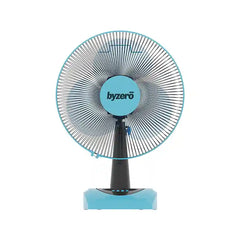
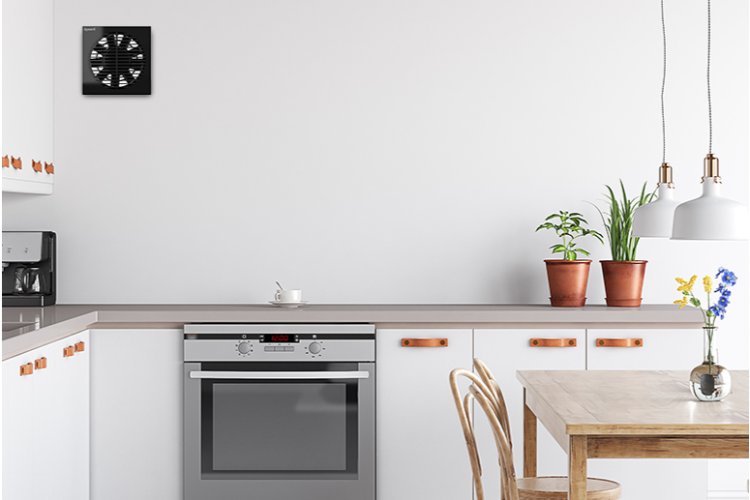
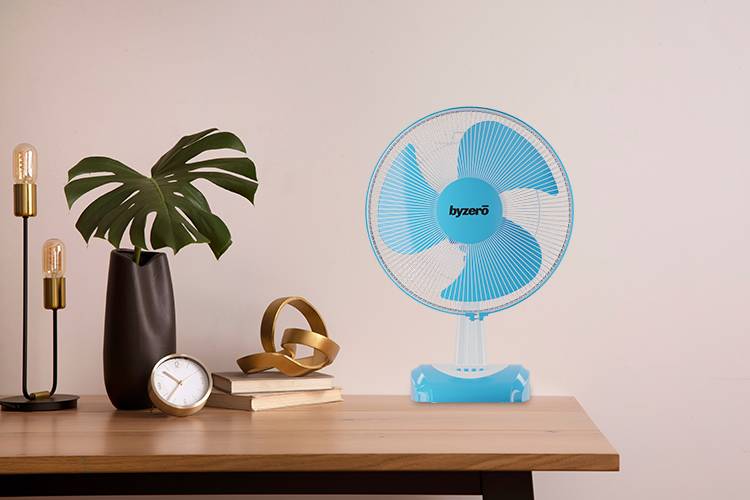
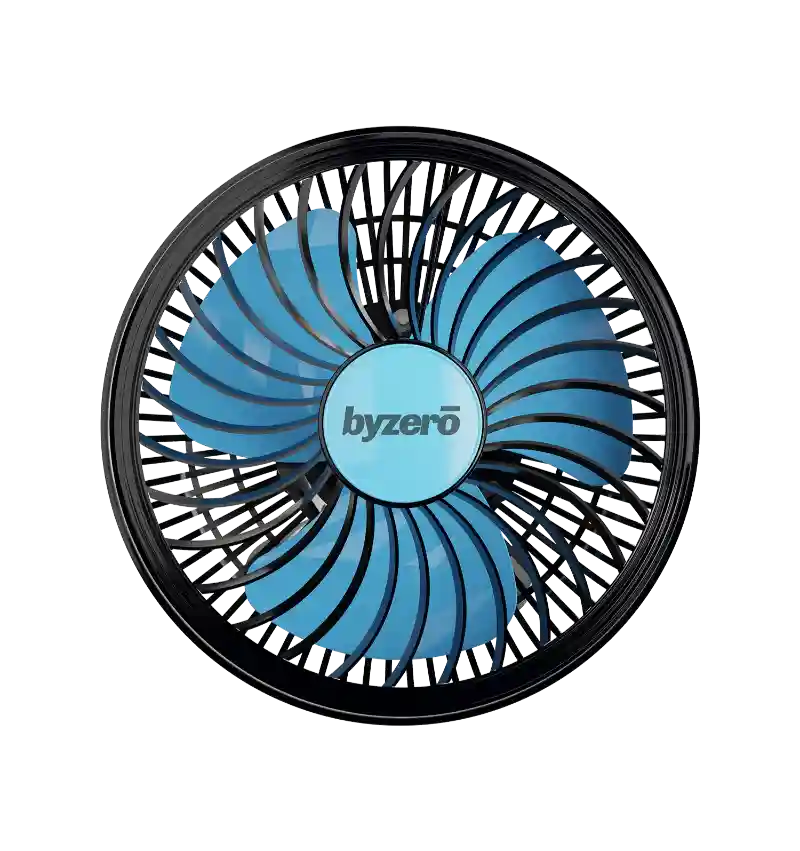
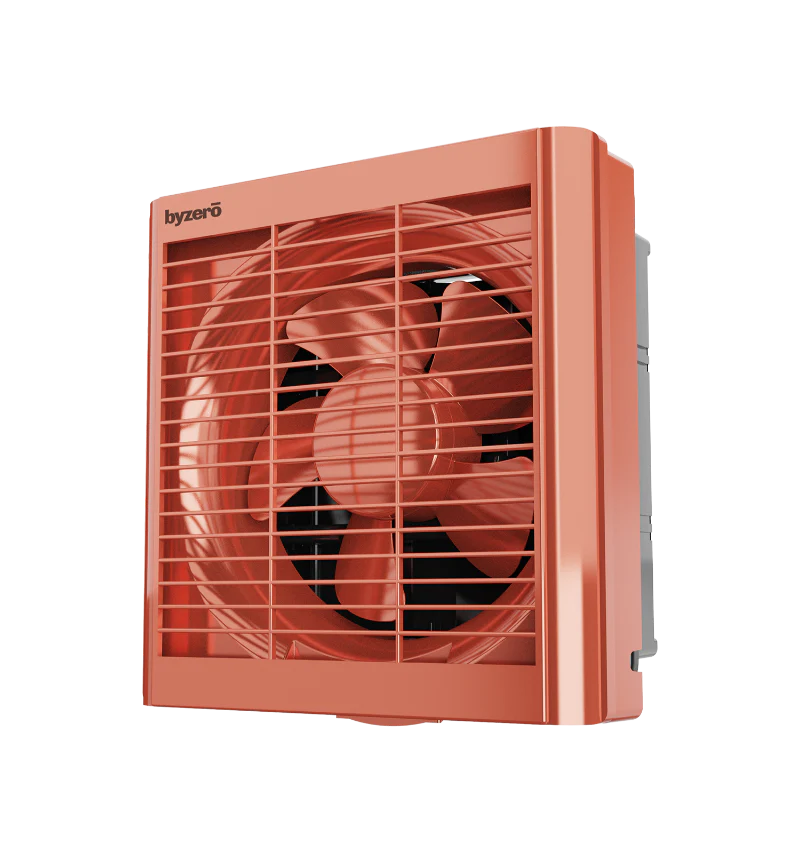
Staying cool and breathing fresh air are essential for a comfortable home environment. We offer a wide variety of wall fans and ventilation fan to suit your needs. Wall fans provide a refreshing breeze, while ventilator fans help remove moisture and odors from bathrooms and kitchens. In this guide, we'll walk you through the process of installing both wall fans and ventilation fans, so you can enjoy the benefits of improved air circulation in your home.
Before You Begin: Safety First!
Always turn off the power to the circuit you'll be working on before starting any electrical work. Use a voltage tester to confirm the power is off. If you're not comfortable with electrical work, it's always best to consult a qualified electrician.
Tools and Materials:
- Screwdriver
- Drill
- Jigsaw or drywall saw
- Stud finder
- Level
- Pencil
- Tape measure
- Safety glasses
- Dust mask
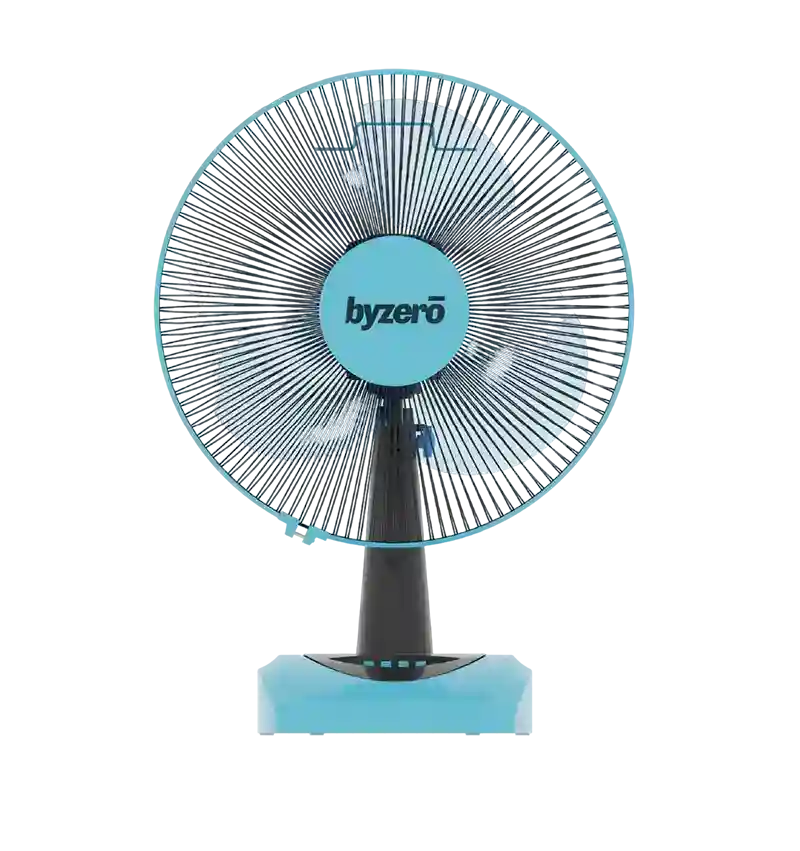
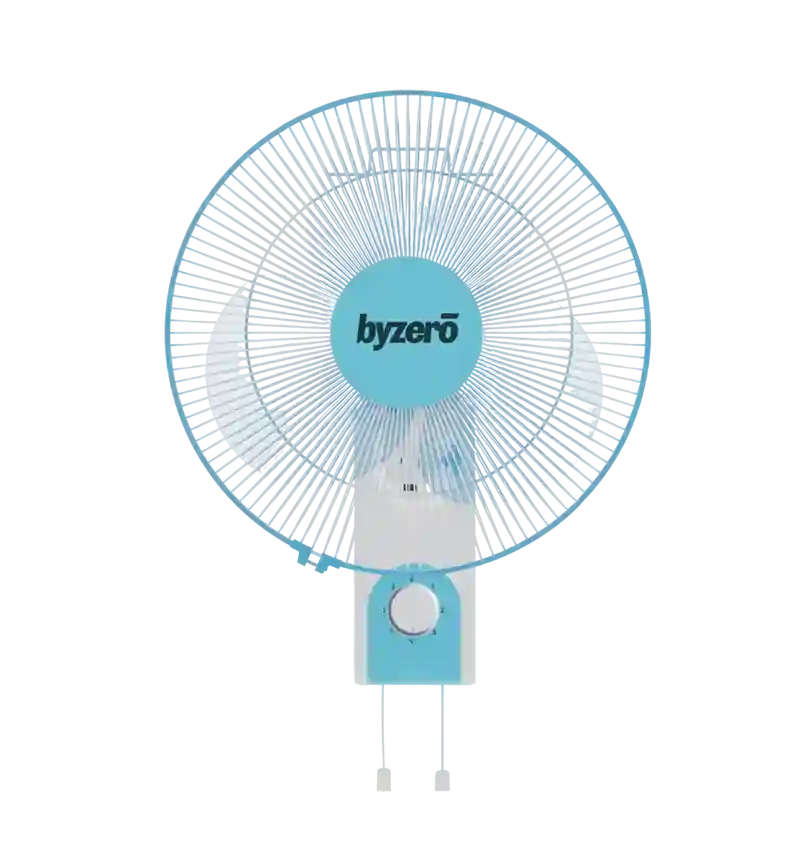
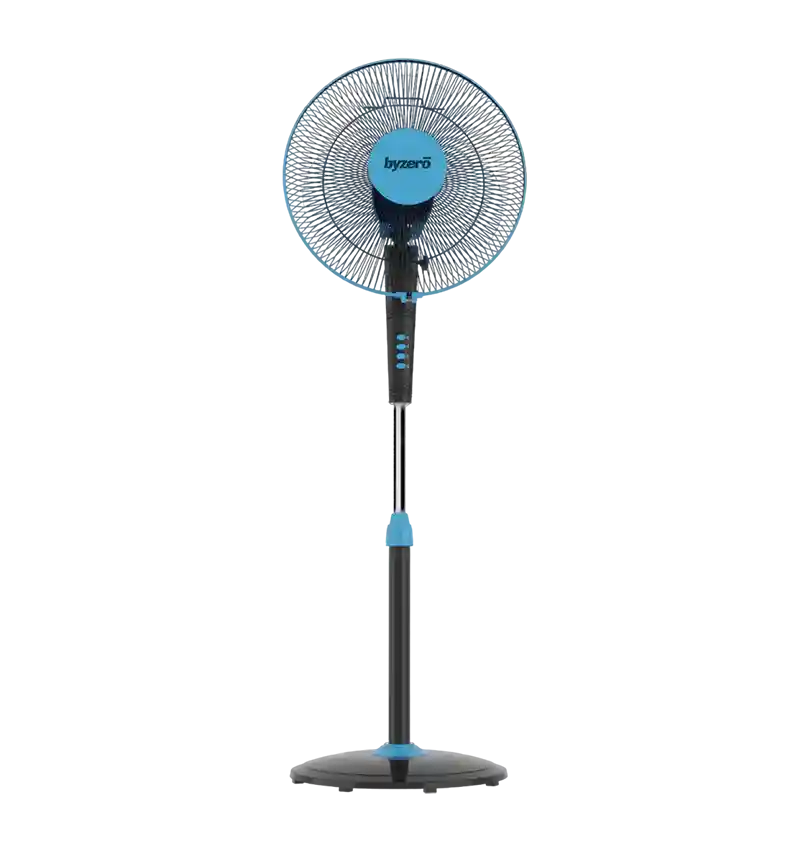
- Wall fan or ventilator fan (of your choice)
- Wall fan or ventilator fan installation guide (consult the specific instructions that come with your fan)
- Ducting (if required for your ventilator fan)
- Electrical wire nuts (if required for your ventilator fans)
Installation Steps (General Guidelines):
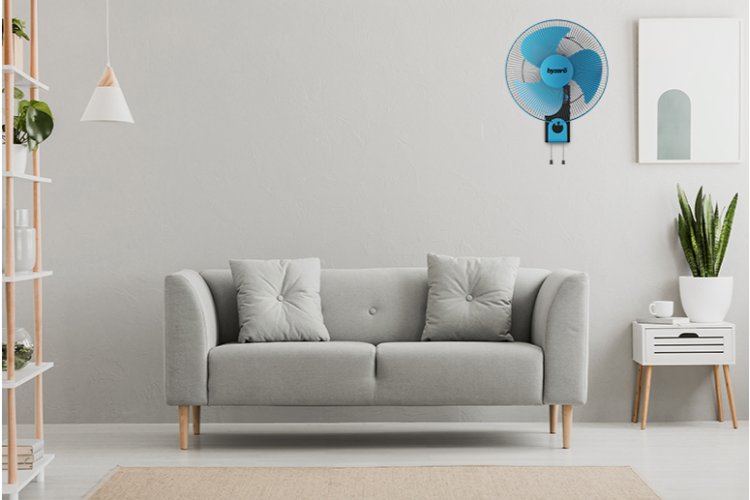
For wall fans, consider the desired airflow direction and choose a location that allows for proper ventilation. Avoid placing the fan directly above furniture or electronics. For ventilator fans, installation typically occurs in bathrooms or kitchens near the ceiling. Make sure the chosen location allows for proper venting to the outside.
Use a stud finder to locate any studs in the wall (for wall fans) and ensure the fan housing will clear them. Following the manufacturer's instructions and using the fan template (if provided), mark the outline of the fan on the wall or ceiling. Carefully cut the hole using a jigsaw or drywall saw.
Most wall fans mount directly to the wall studs using screws. Secure the housing according to the manufacturer's instructions.
Ventilator fans typically require ducting to vent air outside. Connect the ducting to the fan outlet, following the manufacturer's recommendations. Ensure a tight fit to prevent air leaks. Route the ductwork to an exterior vent ensuring proper ventilation to the outdoors.
WARNING: If you're uncomfortable with electrical work, consult a qualified electrician for this step.
Following the manufacturer's wiring diagram, connect the ventilator fan's wires to the appropriate electrical wires in the junction box using wire nuts. Double-check all connections before turning the power back on.
Secure the wall fan or ventilator fan unit to the housing according to the manufacturer's instructions. Finally, attach the fan grill to complete the installation.
Turn the power back on and test the wall fan or ventilator fan. Ensure the fan operates smoothly and quietly, and that air is flowing in the desired direction (for wall fans) or being properly exhausted (for ventilator fans).
Additional Tips:
- When cutting the hole, ensure it's slightly larger than the fan housing to allow for proper mounting.
- Use caulk to seal any gaps between the fan housing and the wall or ceiling to prevent air leaks.
- Consult the manufacturer's guide for specific fan model instructions and troubleshooting tips.
By following these steps and using high-quality wall fans and ventilator fans from Byzero, you can improve air circulation and create a more comfortable and healthy living environment in your home.**
Note: This guide provides general recommendations. Always refer to the specific installation instructions for your chosen wall fan or ventilator fan.
Frequently Asked Questions (FAQs) :
- What safety precautions should I take before installing a wall fan or ventilation fan?
- Turn Off Power: Always turn off the power to the circuit you'll be working on before starting any electrical work. Use a voltage tester to ensure the power is off.
- Consult an Electrician: If you're not comfortable with electrical work, it's best to consult a qualified electrician to ensure a safe installation.
- What tools and materials do I need for installing a wall fan or ventilation fan?
- Tools: You’ll need a screwdriver, drill, jigsaw or drywall saw, stud finder, level, pencil, tape measure, safety glasses, and a dust mask.
- Materials: Wall fan or ventilator fan, installation guide (specific to your fan), ducting (if required for ventilator fans), and electrical wire nuts (for ventilator fans if needed).
- How do I choose the right location for installing a wall fan or ventilation fan?
- Wall Fans: Choose a location that allows for proper airflow and ventilation. Avoid placing the fan directly above furniture or electronics.
- Ventilation Fans: Typically installed in bathrooms or kitchens near the ceiling. Ensure the location allows for proper venting to the outside.
- What steps are involved in installing a wall fan?
- Mark and Cut the Hole: Use a stud finder to locate studs, mark the outline of the fan on the wall, and cut the hole with a jigsaw or drywall saw.
- Install the Housing: Mount the fan housing to the wall studs using screws, following the manufacturer's instructions.
- Install the Fan Unit: Secure the fan unit to the housing and attach the grill to complete the installation.
- How do I install a ventilator fan, and what additional steps are needed?
- Install the Ducting: Connect the ducting to the fan outlet and route it to an exterior vent, ensuring a tight fit to prevent air leaks.
- Electrical Connections: Consult the manufacturer’s wiring diagram to connect the fan's wires to the electrical wires in the junction box using wire nuts. Double-check connections before turning the power back on.
- Install the Fan Unit and Grill: Secure the fan unit to the housing and attach the grill according to the manufacturer's instructions.
- What should I do if my fan isn't operating correctly after installation?
- Check Power Supply: Ensure the power is on and the fan is properly connected.
- Inspect Installation: Verify that the fan is mounted securely and that all ducting and electrical connections are correct.
- Consult the Manufacturer’s Guide: Refer to the specific installation and troubleshooting tips provided in the fan's manual. If issues persist, consider consulting a professional for assistance.
- Are there any tips for ensuring a successful installation and maintaining the fan?
- Hole Size: Make the hole slightly larger than the fan housing to allow for proper mounting.
- Seal Gaps: Use caulk to seal any gaps between the fan housing and the wall or ceiling to prevent air leaks.
-
Refer to the Guide: Always follow the manufacturer's installation instructions and consult their guide for specific tips and troubleshooting.
By following these provided installation steps, you can effectively install and maintain your wall fan or ventilation fan, ensuring improved air circulation and a more comfortable home environment.

Leave a comment