


How to Properly Install a Ventilator Fan in Your Bathroom
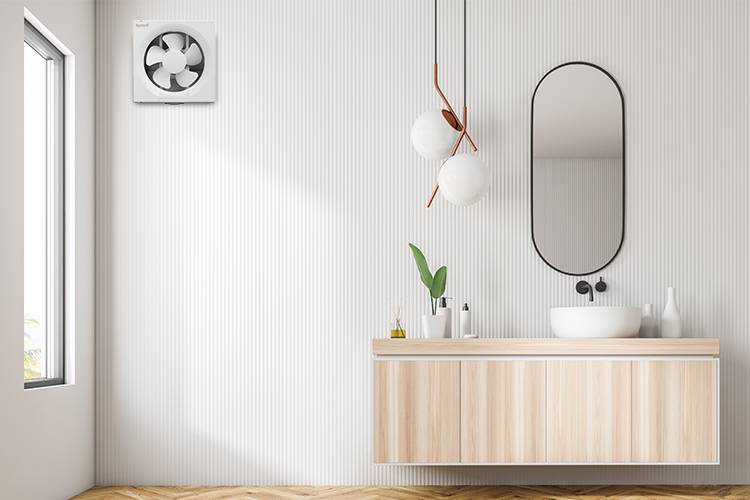
The bathroom – a place for relaxation, rejuvenation, and sometimes, a battle against moisture and lingering odours. Here's where a trusty ventilator fan steps in as your silent hero.
Sure, opening a window might seem like a solution. But a well-functioning ventilator fan, also known as a bathroom exhaust fans, offers a much more effective and targeted solution. Here's why installing a ventilator fan is a wise decision and how to tackle the installation process yourself (with a little DIY spirit!).
Why You Need a Bathroom Ventilation Fan
- Banishing Moisture and Mold: Hot showers and steamy baths create a lot of moisture in the air. This can lead to condensation on walls and ceilings, creating a breeding ground for mould and mildew. A ventilator fan removes excess moisture, preventing mould growth and protecting your bathroom surfaces.
- Goodbye Odours: Let's face it, bathrooms can get smelly. A ventilator fan quickly removes unpleasant odours, keeping your bathroom smelling fresh and inviting.
- Improved Air Quality: Not only does a ventilator fan remove moisture and odors, but it also helps eliminate airborne pollutants and contaminants. This can improve the overall air quality in your bathroom, especially beneficial for those with respiratory sensitivities.
- Reduced Foggy Mirrors: Tired of wiping down foggy mirrors after a shower? A ventilator fan helps prevent this by removing moisture that condenses on the mirror's surface.
Before You Begin: Safety First!
Always turn off the power to the bathroom circuit at the breaker box before starting any electrical work. If you're uncomfortable with electrical tasks, it's best to consult a qualified electrician.
Tools and Materials You'll Need:
- Screwdriver (Phillips and flathead)
- Utility knife
- Drill (with appropriate drill bits)
- Saw (optional, depending on duct installation)
- Caulk
- Measuring tape
- Pencil
- Safety glasses
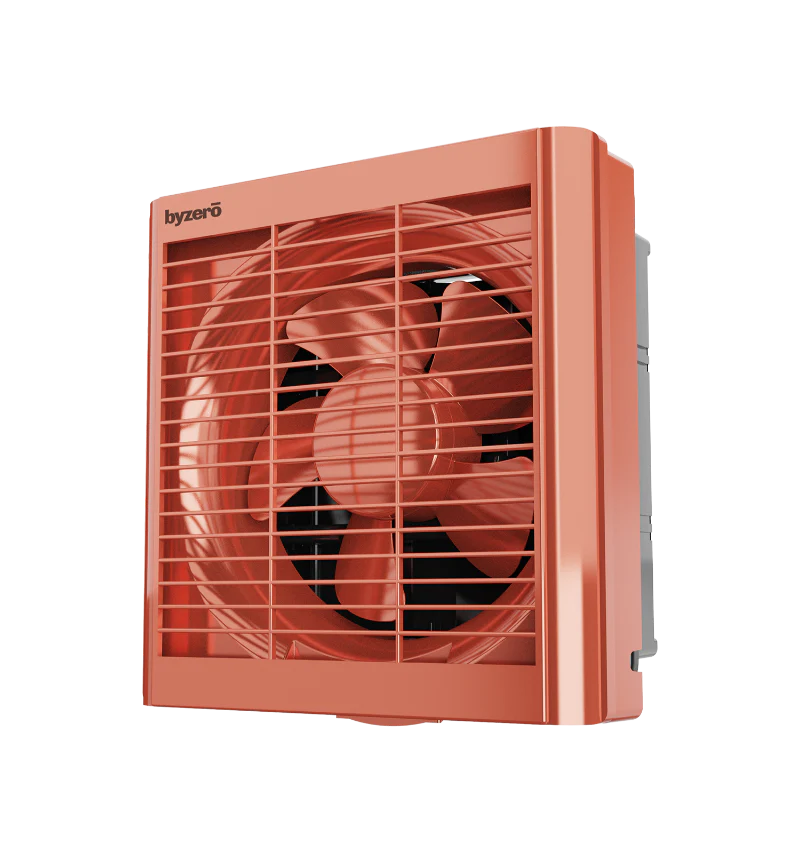
- Ventilator fan (ensure it's suitable for your bathroom size)
- Ducting (flexible or rigid, depending on your needs)
- Duct connector (connects fan to duct)
- Roof vent cap (if venting directly outside)
Installation Steps:
- Plan Your Placement: Choose a location for the ventilator fan. Ideally, it should be centered on the ceiling or wall near the shower or bathtub. Make sure there's enough clearance for the fan's housing and ductwork.
- Mark and Cut: Mark the location for the fan on your ceiling or wall. Using your chosen cutting tool (carefully!), create a hole for the fan housing to fit snugly.
- Electrical Connections: Following the manufacturer's instructions, connect the fan's wiring to your existing electrical wires using wire nuts. Ensure all connections are secure and covered with electrical tape.
- Install the Fan: Carefully position the fan housing in the opening and secure it with the provided screws.
- Duct Installation: Attach the duct connector to the fan housing. Run the ductwork from the fan to an exterior vent (through the roof or soffit). Use appropriate clamps to secure the ductwork connections. If necessary, cut holes for the ductwork to pass through walls or ceilings.
- Seal the Deal: Use caulk to seal any gaps around the fan housing and ductwork penetrations to prevent air leaks.
- Power Up!: Once everything is secure and sealed, turn the power back on at the breaker box. Test your new ventilator fan to ensure it functions properly.
Additional Tips:
- Consider a ventilator fan with a timer that runs for a set period after you turn off the light switch, ensuring proper moisture removal.
- Choose a ventilator fan with a CFM (Cubic Feet per Minute) rating suitable for your bathroom size. Higher CFM ratings indicate greater air removal capacity.
- Regularly clean the fan housing and ductwork to maintain optimal airflow and performance.
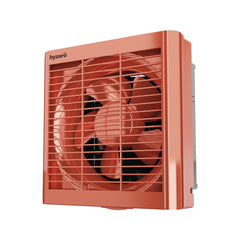
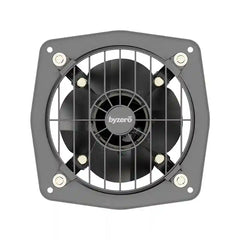
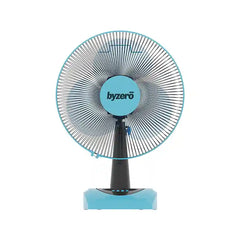
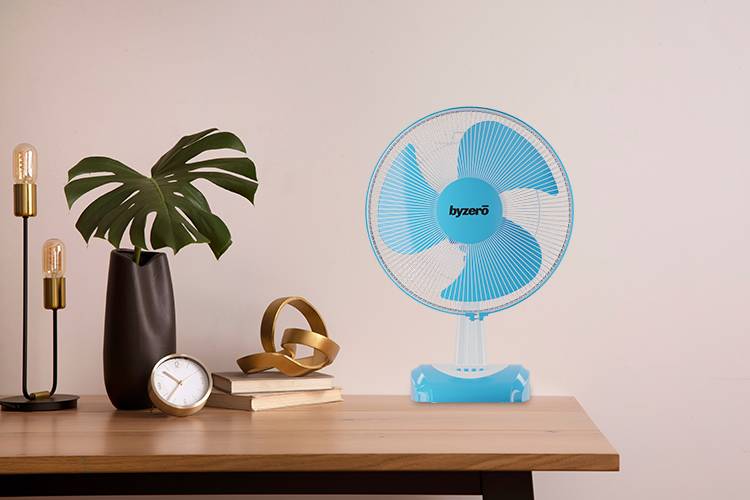
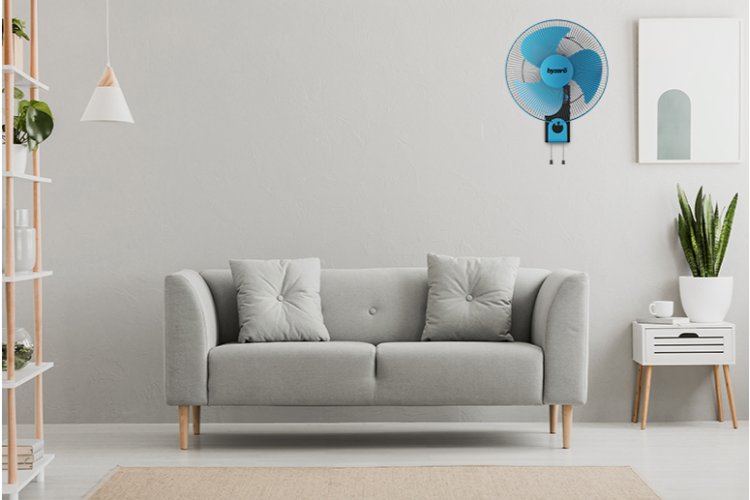
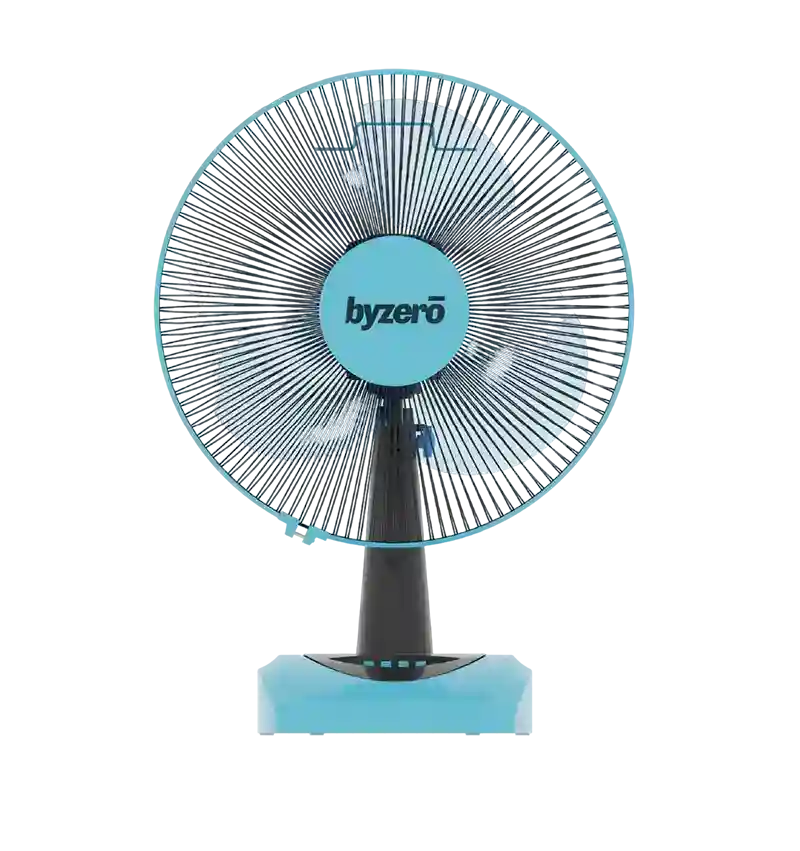
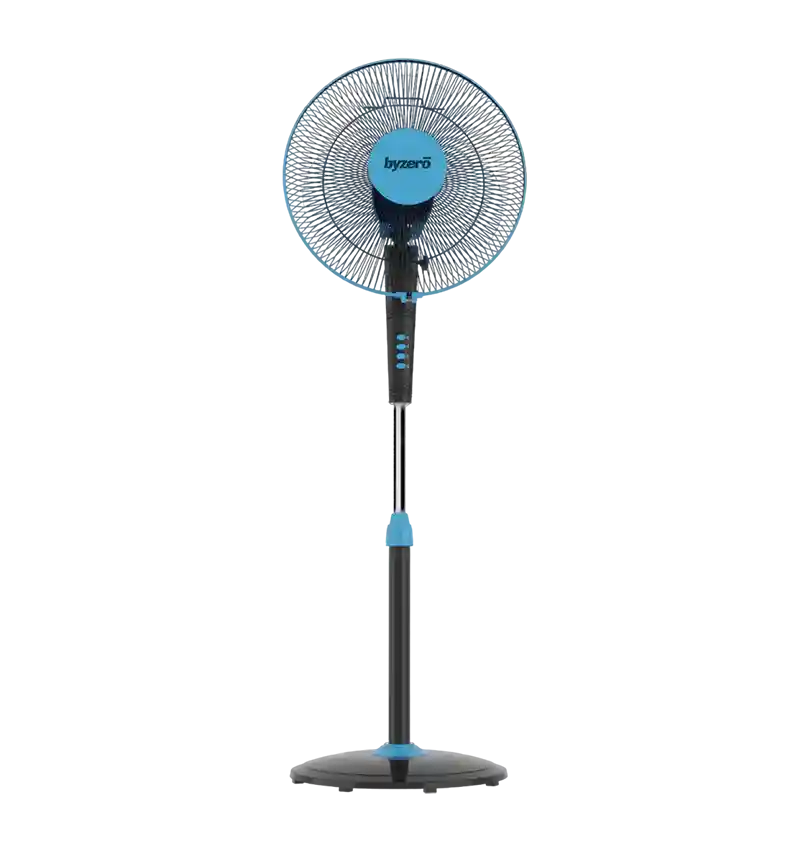
Byzero's Commitment to Fresh Air
We offer a comprehensive selection of ventilator fans for your bathroom needs. From basic and affordable to feature-rich and quiet models, we have a fan to keep your bathroom fresh and comfortable. Browse our selection and find the perfect ventilator fan to transform your bathroom into a breath of fresh air!
Remember, a well-functioning ventilator fan is a small investment with big benefits. It not only improves the air quality and comfort in your bathroom but also extends the life of your walls, ceilings, and mirrors by preventing moisture damage. So, grab your toolbox or call an electrician if you're unsure about any of the electrical work involved. With a little DIY spirit or professional help, you can transform your bathroom into a fresh and healthy space. Proper ventilation is key to maintaining a comfortable and hygienic bathroom environment.
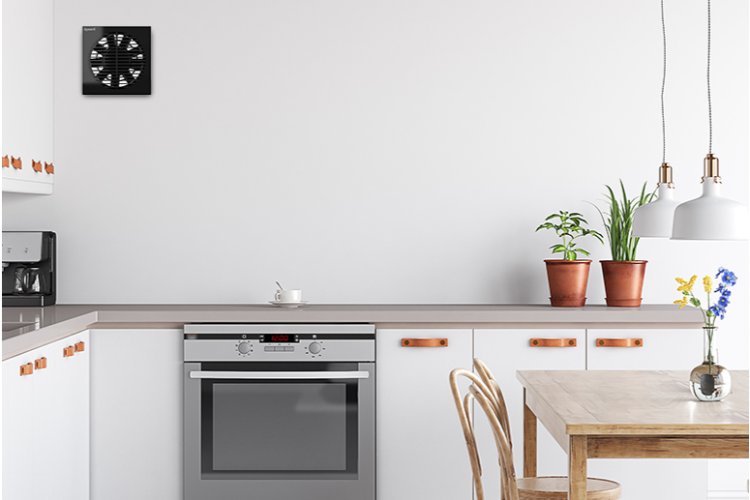
For more insights on the benefits of installing exhaust fans in your bathroom and kitchen, check out this detailed guide from GM Modular. So, roll up your sleeves, grab your tools, and enjoy the benefits of a well-installed ventilator fan!
Frequently Asked Questions (FAQs) :
-
Why is it important to install a bathroom ventilator fan?
A bathroom ventilation fan is crucial for controlling moisture and preventing mold growth, eliminating unpleasant odors, and improving overall air quality. It also helps reduce fog on mirrors by removing moisture that condenses on surfaces, creating a more comfortable and healthier bathroom environment.
-
How do I choose the right size ventilator fan for my bathroom?
Choose a ventilator fan with a CFM (Cubic Feet per Minute) rating that matches the size of your bathroom. For example, a bathroom up to 100 square feet typically requires a fan with a minimum CFM rating of 50-70. Check the manufacturer's recommendations for your specific bathroom size to ensure optimal performance.
-
Can I install a bathroom ventilation fan myself, or should I hire a professional?
While installing a bathroom ventilation fan can be a DIY project if you have some experience with electrical work and home improvement, it is essential to follow safety precautions. Turn off the power at the breaker box and carefully follow the installation instructions. If you’re uncomfortable with electrical tasks or unsure about any part of the installation, it's best to hire a licensed electrician.
-
What tools and materials do I need for installing a bathroom ventilation fan?
You will need a screwdriver (Phillips and flathead), utility knife, drill with appropriate drill bits, saw (if necessary for duct installation), caulk, measuring tape, pencil, safety glasses, and the ventilator fan itself. Additionally, ducting (flexible or rigid) and a duct connector will be required for proper ventilation to the outside.
-
How can I maintain my bathroom ventilation fan?
To maintain your fan, regularly clean the fan housing and blades to remove dust and debris. Ensure that the ductwork is clear and not obstructed. Check the fan periodically to make sure it is running smoothly and efficiently. If your fan has a filter, follow the manufacturer’s instructions for cleaning or replacing it.
-
What are some additional features to consider when buying a bathroom ventilation fan?
Look for features like a timer function, which allows the fan to run for a set period after the light is turned off to continue removing moisture. Consider fans with quiet operation, a stylish design, and easy installation. Some models offer additional benefits like built-in heaters or lights for added convenience.


Leave a comment