


Installing Wall Fans and Ventilator Fans: Tips for Homeowners
Summer heat can be brutal, and keeping your home cool and comfortable is a top priority. While air conditioners offer powerful cooling, they can also be energy-hungry and expensive to run. Wall fans and ventilator fans are two excellent alternatives that provide targeted cooling and improved air quality, often with lower energy consumption. But how do you go about installing them yourself?
This blog will guide you through the basic steps of installing wall fans and ventilator fans, empowering you to tackle this DIY project and enhance your home's comfort. Safety first! Always remember to turn off the power at the breaker box before starting any electrical work. If you're unsure about your electrical skills, it's always best to consult a qualified electrician.
The Essential Tools:
Before you dive in, ensure you have the necessary tools on hand:
- Drill with appropriate drill bits (for masonry walls, you'll need a masonry drill bit)
- Screwdriver (Phillips head or flathead depending on your fan model)
- Pencil
- Level
- Tape measure
- Safety glasses
- Wire strippers (if required by your specific fan model)
- Stud finder (optional, but recommended)
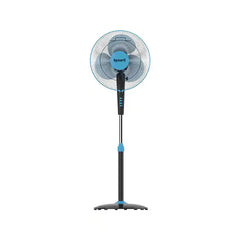
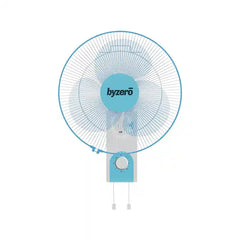
Installing Your Wall Fan:
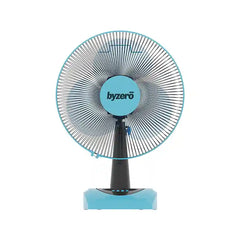
- Choose the Perfect Location: Select a location with good airflow and away from furniture or walls that might obstruct the fan's movement. Wall fans are ideal for circulating air in living rooms, bedrooms, or home offices. Use a stud finder to locate wall studs for secure mounting.
- Mark and Drill: Mark the mounting holes on the wall using your fan's mounting template. Using the appropriate drill bit, drill holes into the wall and any wall studs for secure installation.
- Mount the Bracket: Attach the mounting bracket to the wall using the provided screws and anchors (ensure you're using the appropriate anchors for your wall type).
- Connect the Electrical Wires (if applicable): Some wall fans might require connecting the electrical wires. If your model requires this, follow the manufacturer's instructions carefully. This might involve stripping wires, connecting them to the appropriate terminals in the junction box, and securing the connections with wire nuts.
- Mount the Fan: Attach the fan body to the mounting bracket according to the manufacturer's instructions. This might involve tightening screws or snapping the fan into place.
- Install the Blades and Grill: Attach the fan blades and grill as per the instructions. Ensure everything is secure and the blades spin freely.
- Restore Power and Test: Turn the power back on at the breaker box and test your new wall fan. Adjust the oscillation and speed settings to your liking.
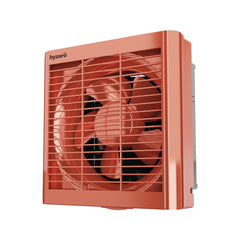
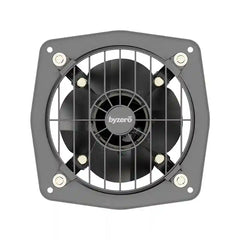
Installing Your Ventilator Fan:
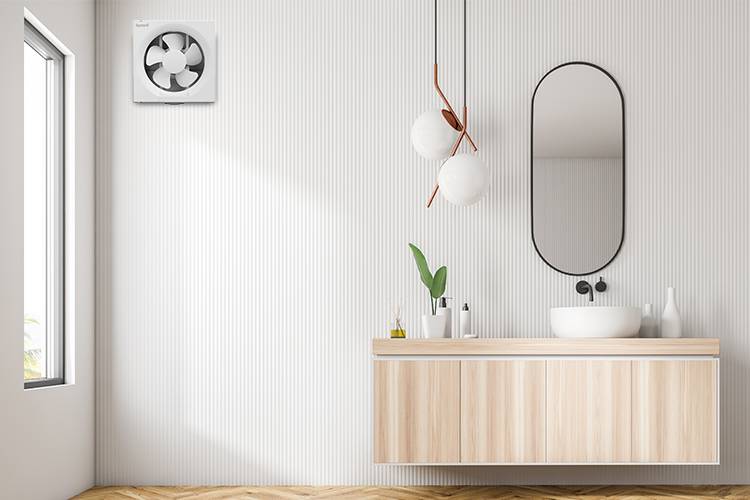
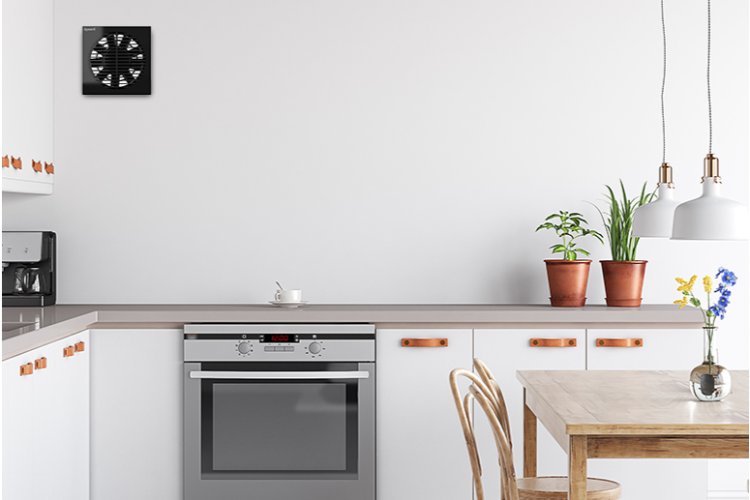
- Choose the Right Spot: Ventilator fans are typically installed in kitchens, bathrooms, and laundry rooms to remove moisture, odors, and stale air.
- Mark and Cut: Locate the desired location for the fan, ensuring proper ventilation to the outside. Mark the cutout size using the fan's template. Carefully cut the opening in the wall or ceiling (depending on your model) using a drywall saw or jigsaw.
- Install the Duct (if applicable): Some ventilator fans require connecting a duct to vent air outside. Follow the manufacturer's instructions for duct installation and connection to the fan.
- Mount the Fan: Position the fan in the cutout and secure it using the provided screws and brackets. Ensure a tight and secure fit.
- Connect the Electrical Wires (if applicable): Similar to wall fans, some ventilator fans might require connecting electrical wires. Follow the manufacturer's instructions carefully for safe electrical connections.
- Install the Grill and Cover: Attach the grill and any exterior cover (if applicable) according to the instructions.
- Power Up and Test: Turn the power back on and test your new ventilator fan. Listen for proper operation and ensure air is being effectively removed from the room.
A Few Final Tips:
- Always consult your fan's user manual for specific installation instructions.
- Ensure proper ventilation for your ventilator fan. Blocked vents can hinder performance and lead to moisture build-up.
- Regularly clean your fan blades and grills to maintain optimal airflow and performance.
Byzero: Your Partner in Fan Solutions
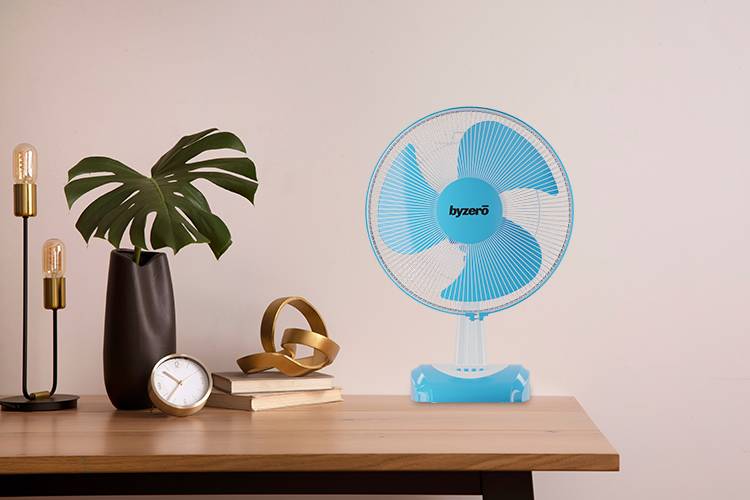
We offer a wide variety of high-quality wall fans and ventilator fans designed for easy installation and efficient operation. Many of our models feature user-friendly designs and clear installation instructions, making the process even smoother. Whether you're a seasoned DIY enthusiast or a first-time installer, you'll find Byzero fans to be reliable and easy to work with. With proper installation and care, your new wall fans and ventilator fans will provide refreshing breezes and improved air quality for years to come.
If you're also considering ceiling fans, you can refer to this ceiling fan buying guide for helpful insights.
Frequently Asked Questions (FAQs) :
-
What tools do I need to install a wall fan or ventilator fan?
Essential Tools:
- Drill with appropriate drill bits (masonry drill bit for masonry walls)
- Screwdriver (Phillips head or flathead depending on your fan model)
- Pencil
- Level
- Tape measure
- Safety glasses
- Wire strippers (if required by your specific fan model)
- Stud finder (optional but recommended)
-
How do I choose the best location for installing a wall fan?
Choosing the Location:
- Select a spot with good airflow and away from obstructions like furniture or walls that could block the fan's movement.
- Use a stud finder to locate wall studs for a secure mounting.
- Ideal locations include living rooms, bedrooms, or home offices where the fan can effectively circulate air.
-
What are the basic steps for installing a wall fan?
Installation Steps:
- Choose the Location: Find an ideal spot with good airflow.
- Mark and Drill: Mark mounting holes and drill them into the wall and studs.
- Mount the Bracket: Attach the mounting bracket using screws and anchors.
- Connect Electrical Wires (if applicable): Follow manufacturer instructions for wire connections.
- Mount the Fan: Attach the fan body to the bracket.
- Install Blades and Grill: Attach blades and grill securely.
- Test the Fan: Restore power and test the fan’s operation.
-
How do I install a ventilator fan, and what should I consider?
Installation Steps:
- Choose the Spot: Locate a place for the fan in kitchens, bathrooms, or laundry rooms.
- Mark and Cut: Mark the cutout size and cut the opening in the wall or ceiling.
- Install the Duct (if applicable): Connect the duct to vent air outside.
- Mount the Fan: Secure the fan in the cutout with screws and brackets.
- Connect Electrical Wires (if applicable): Follow instructions for electrical connections.
- Install Grill and Cover: Attach the grill and any exterior cover.
- Test the Fan: Restore power and ensure proper operation.
-
Are there any safety tips to follow when installing fans?
Safety Tips:
- Turn Off Power: Always turn off the power at the breaker box before starting any electrical work.
- Follow Manufacturer’s Instructions: Adhere to the specific installation instructions provided with your fan.
- Check for Proper Ventilation: For ventilator fans, ensure the vents are not blocked to avoid moisture build-up.
- Use Safety Gear: Wear safety glasses while drilling and cutting.
-
What should I do if I’m unsure about my electrical skills during installation?
Consult a Professional: If you are unsure about handling electrical connections, it’s best to consult a qualified electrician to ensure safe and proper installation.

Leave a comment